CD Covers Rickie Lee Jones Live at the Roxy |
|
|
Instructions |
|
|
1.
|
Get
a double cd jewel case. These are available at many office supply and record stores and on the web. |
|
2.
|
Download
and print the front and back cover. Instructions below. |
|
3.
|
Put the covers and the CD's in the jewel case. |
| Download the Covers | |
|
Internet
Explorer
Right Click on the front or back cover and select "Save Target As". Then, select where you want to save the file on your hard drive and click OK. Netscape
Mac
Hold down the Option key and click on the front or back cover. NOTE:
| |
FRONT COVER The name of the file is roxyfront.jpg. The file size is 185.4k. It will take about 1.5 minutes to download with a 28.8 modem. 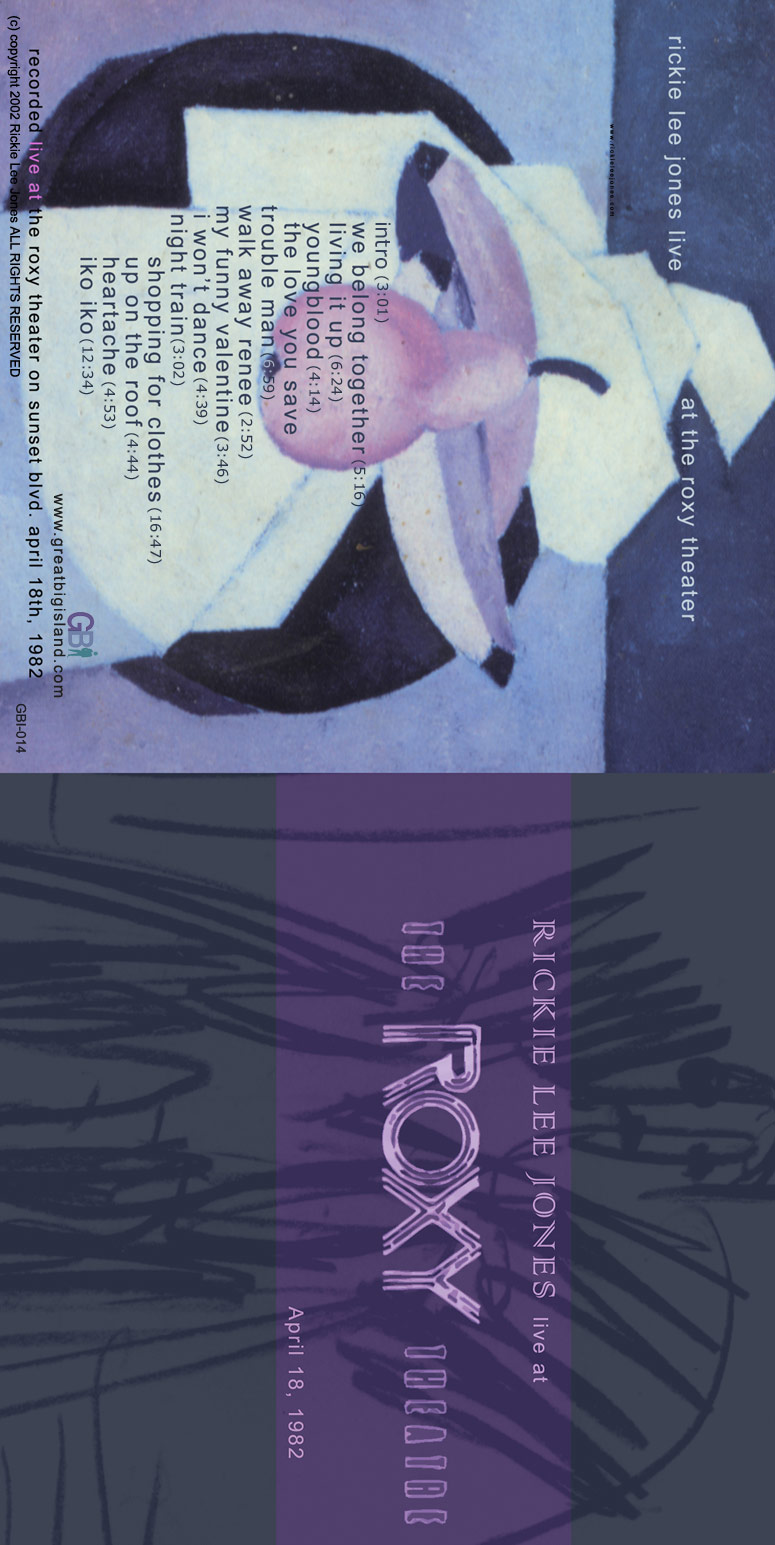 |
|
|
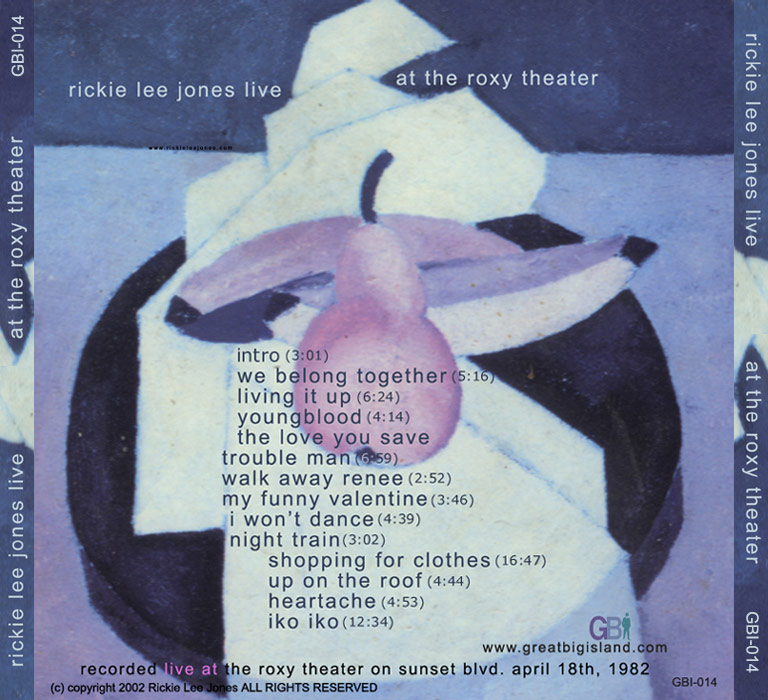
BACK
COVER |
|
| Print the Covers | |
| These covers can now be printed using your word processor. The following instructions are for Microsoft Word 2000. The procedure using other versions of Word and other word processing programs may vary but should be similar. | |
|
Front
Cover
|
|
|
1.
|
Open MS Word. From the Insert menu, select "Pictures" and then "From File". |
|
2.
|
Find the front cover
image on your hard drive and click OK. If you saved it in the "My Documents" folder, open that folder and select portlandfront.jpg. |
|
3.
|
The dimensions need
to be set properly in Word for it to print the right size. |
|
4.
|
From
the menu, select File - Print. For better results, use glossy photographic paper. |
|
5.
|
Cut out
the cover, fold it in half and slip into the front of your double CD jewelcase.
For best results, score the fold line before folding. |
|
Back
Cover
|
|
|
6.
|
Open MS Word. From the Insert menu, select "Pictures" and then "From File". |
|
7.
|
Find the
back cover image on your hard drive and click OK. If you saved it in the "My Documents" folder, open that folder and select portlandback.jpg. |
|
8.
|
The dimensions need
to be set properly in Word for it to print the right size. |
|
3.
|
From
the menu, select File - Print. For better results, use glossy photographic paper. |
|
4.
|
Cut
out the cover, fold it on the spine fold lines and slip into the back of
your jewelcase. For best results, score the two fold line before folding. |
| Add the CD's to the jewelcase and you are done. | |
|
||||